

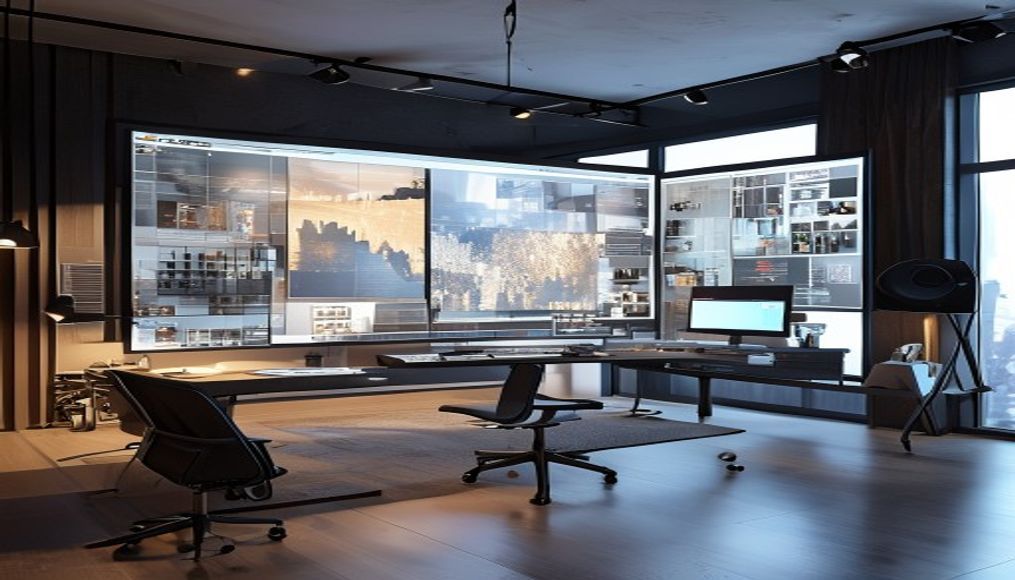
Quick answer: Interior 3D design translates spatial decisions into a model that can be reviewed, coordinated and communicated. A realistic image is useful only when the room dimensions, furniture, materials, openings and lighting reflect the approved proposal. This guide explains a disciplined workflow for beginners—from organising inputs and modelling accurately to rendering, revising and presenting work without allowing visual polish to hide unresolved design.
What an interior 3D model must communicate
People searching for interior 3d design usually need more than a definition or a list of attractive outcomes. They need to understand the work involved, the evidence that proves quality, the trade-offs between options and the checks required before committing time, money or a portfolio claim.
What interior 3d design includes
Interior 3D design is valuable when it helps people check space, materials, light and coordination. A photorealistic image can still be wrong if dimensions, openings, furniture or services are inaccurate. The model should therefore begin with verified inputs, maintain clear layers and versions, and produce views chosen for decisions—not only dramatic presentation.
How to evaluate interior 3d design decisions
Use the guide as a decision sequence rather than a list of ideas. Begin with the purpose of interior 3d design, compare the available options, test the technical or practical requirements, and document why one choice is more suitable than another. The tables provide a quick orientation; the subsections that follow explain what to inspect, what evidence to retain and which mistakes create avoidable rework.
| Stage | Main objective | Review question |
|---|---|---|
| Input | Organise drawings and references | Are dimensions and decisions current? |
| Model | Build clean, accurate geometry | Can elements be edited and checked? |
| Material | Represent scale and surface | Do maps and junctions make sense? |
| Light | Explain daylight and fixtures | Does illumination match the design? |
| Output | Communicate selected views | Does each image answer a question? |
| Model stage | Primary question | Quality check |
|---|---|---|
| Inputs | Are dimensions and references current? | Drawing register and discrepancy list |
| Base model | Is the room geometry accurate? | Plan, section and known-dimension check |
| Design model | Are furniture, joinery and services coordinated? | Clearance and interference review |
| Materials and light | Do settings represent the approved proposal? | Scale, mapping, source and exposure check |
| Output | Does each view answer a decision? | Camera, annotation and revision record |
How to compare interior 3d design options
Do not treat the tables as a universal ranking. Compare inputs, base model, design model, materials and light against the actual brief, user, place, role or production condition. For each row, write down the evidence available, the assumption being made, the risk if that assumption is wrong and the person who can confirm it. An option becomes stronger when it solves the defined need with fewer unresolved conflicts; it does not become stronger because its label sounds more advanced or visually impressive.
What interior 3d design evidence to record
Create a small decision record for interior 3d design before producing the final output. At minimum, make space for current drawing register, units, origin and levels, geometry checked in plan and section, objects grouped and named, clearances and services modelled, along with dates, file or sample versions and review comments. Decide what can be verified immediately and what must remain provisional. This record makes feedback specific, prevents an outdated instruction from returning later and helps a student explain not only what was made, but how the result improved through observation, testing and correction.
Build an accurate and controllable model
Start with verified information
Collect the current plan, elevations, ceiling, openings, furniture sizes, material schedule and lighting intent. Mark missing decisions instead of inventing them silently. Set units and origin before modelling. A beautiful model built from an outdated layout can create false confidence and expensive coordination errors.
Model with clean hierarchy
Separate walls, floors, ceilings, fixed furniture, loose furniture, services and props into logical groups or layers. Use components for repeated objects and sensible names. Avoid unnecessary polygon detail in distant elements. Clean structure makes revision faster and allows reviewers to isolate design systems instead of treating the model as one fragile object.
Use materials at believable scale
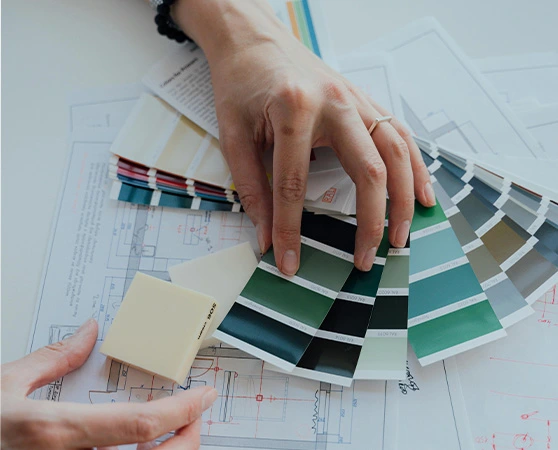
Create material definitions that represent colour, reflectance, roughness, pattern and texture scale. Align grains and tiles deliberately. Test a small scene before filling the project with high-resolution maps. Physical samples remain important because screen colour and rendering settings cannot guarantee how an installed finish will appear.
Use light, materials and views to test decisions
Light to test the design
Begin with daylight orientation and broad artificial-light intent, then add fixtures that correspond with the plan. Avoid using invisible lights only to make an image dramatic unless the presentation clearly separates concept mood from technical lighting. Check glare, dark working surfaces and whether decorative sources can physically fit and be maintained.
Choose views for decisions
Use camera height, lens and framing that explain scale honestly. Include a view that shows circulation and relationships, not only close decorative corners. Keep verticals controlled when appropriate. A plan, section, axonometric or material detail may communicate some decisions better than another perspective render.
Build a portfolio around process
Present the brief, measured input, zoning or layout, modelling stages, material tests, lighting studies, revisions and final views. Label software and your contribution, but focus on design reasoning. Include one technical drawing next to the model so reviewers can see accuracy. Avoid filling pages with nearly identical camera angles.
Control inputs, detail, revisions and portfolio evidence
Start with a controlled input set
Record the drawing name, revision, date, units and source for plans, sections, elevations, site measurements, furniture and materials. Resolve discrepancies rather than choosing the dimension that makes modelling easier. Set origin, levels and units before importing or tracing. Keep a list of assumptions and unverified items. A model built quickly on an outdated plan can make later renders and client decisions expensive to correct.
Model for accuracy and editability
Build major geometry first and check it against plans and sections. Use clear groups, components, layers or categories, logical names and reusable assets. Avoid excessive detail that slows review before the layout is approved. Model critical clearances, door and drawer movement, ceiling drops, equipment and custom joinery accurately. Keep decorative proxies separate from construction information so a visually convenient object is not mistaken for a specified product.
Use materials, lighting and cameras honestly
Apply materials at realistic scale and orientation, with reflectance and texture suited to the approved sample. Separate daylight and artificial-light tests when useful. A bright render should not hide insufficient task light or impossible fixtures. Choose camera height and field of view that explain the room without extreme distortion. Include views that show circulation and relationships; plans, sections, axonometrics and details may answer some questions better than another perspective.
Control revisions and portfolio evidence
Save milestone versions, identify the approved model and issue views with date or revision. Record client comments against a specific output and distinguish a design change from a rendering change. Before final delivery, check missing textures, floating objects, intersections, repeated assets, scale, noise and colour management. In a portfolio, show input, model development, one coordination problem, material or light tests and final views. State whether you designed the space, modelled another person’s design or worked as part of a team.
When working on interior 3d design, decisions that depend on changing safety, workplace, regulatory or professional requirements should be checked against the current project conditions and relevant guidance. Useful verification points include buildingSMART overview of structured building-model information. These references support a specific decision; they do not replace measurements, approvals, manufacturer instructions or qualified professional advice.
Define review stages and run pre-render checks
Define a level of detail for each review stage
During concept review, model enough geometry to compare layout, massing and key views. During design development, add accurate furniture, joinery, ceiling, materials and relevant services. For final visualisation, refine approved assets, textures, light and styling. Do not spend hours modelling small decoration while the plan is unsettled. State what the model does and does not represent, especially when dimensions or products are provisional. This protects the team from treating an early visual model as construction information.
Create a pre-render quality assurance pass
Check units, hidden or duplicate geometry, reversed faces, floating objects, intersections, texture scale, mapping direction, material names, light sources, camera distortion and output resolution. Compare critical dimensions with the drawing set and inspect several neutral views before the hero camera. Test low-resolution drafts for exposure and noise before committing rendering time. Package assets according to licence and project rules. A formal QA pass reduces the chance that visual polish hides a wrong opening, impossible joint or outdated furniture layout.
Worked example: modelling a bedroom for decisions
interior 3d design scenario and decision
Import the verified plan, build walls and openings, then place the actual bed and wardrobe dimensions. Test shutter and drawer movement before modelling decorative panels. Add ceiling, fan, air-conditioning and light positions to expose conflicts. Create one eye-level view for proportion, one view showing circulation and an annotated plan. Compare two material or lighting options without changing the camera. The model now supports a decision trail instead of serving only as a final image.
interior 3d design evidence to retain
Review the interior 3d design work against evidence rather than presentation alone. A second reviewer should be able to locate evidence for current drawing register, units, origin and levels, geometry checked in plan and section, objects grouped and named; follow the current version; and identify what changed after testing or feedback. Record assumptions that still need confirmation and name the person responsible for resolving each one. This prevents a polished page or render from concealing an incomplete technical, operational or learning decision.
A step-by-step interior 3d design workflow
Complete the stages in order, but return to an earlier stage whenever new evidence changes the brief. Keep one current version of the decision record so that sketches, drawings, files, samples or approvals do not drift apart.
- Prepare: Verify drawings, units, layers, material references and output needs.
- Block: Model major volumes and test circulation before adding detail.
- Develop: Add fixed elements, furniture and coordinated openings or services.
- Test: Review materials, daylight, artificial light and selected cameras at low resolution.
- Deliver: Render final views, label assumptions and archive an organised editable model.
At every handoff, state what is approved, what remains provisional and what must be checked next. This small discipline makes the workflow easier to review and converts activity into evidence that can be discussed in a portfolio, interview or project meeting.
Review the model before presentation or handoff
interior 3d design quality-control checklist
- Current drawing register
- Units, origin and levels
- Geometry checked in plan and section
- Objects grouped and named
- Clearances and services modelled
- Materials at realistic scale
- Cameras free from misleading distortion
- Revisions and contribution documented
interior 3d design mistakes and their consequences
- Starting detailed modelling before the plan and dimensions are approved.
- Downloading heavy objects without checking scale, style or file performance.
- Using textures at the wrong scale or with impossible junctions.
- Adding dramatic light that does not correspond to the proposed fixtures.
- Creating a portfolio of final renders with no drawings, process or revisions.
interior 3d design final independent review
Review the interior 3d design work against evidence rather than presentation alone. A second reviewer should be able to locate evidence for geometry checked in plan and section, objects grouped and named, clearances and services modelled, materials at realistic scale; follow the current version; and identify what changed after testing or feedback. Record assumptions that still need confirmation and name the person responsible for resolving each one. This prevents a polished page or render from concealing an incomplete technical, operational or learning decision.
Connect visualisation with interior learning at IIFT Bangalore
Related skills for interior 3d design
Compare the roles of drafting, modelling, rendering and presentation tools. For the next step, use best software for interior designers.
Keep spatial hierarchy and proportion central to visualisation. The guide on fundamentals that make 3D interiors credible helps you examine that part in depth.
Connect digital skill with the broader professional pathway. Continue with steps toward an interior design career when that becomes the next decision.
See how digital work fits structured design education. For the next step, use BSc interior design course and career overview.
Understand where visualisation is used across project sectors. The guide on career scope for interior visualisation skills helps you examine that part in depth.
Use a completed commercial brief to test model accuracy and handoff. The related guide helps readers apply 3D coordination to office space-planning decisions.
Structured learning for interior 3d design
Readers who want guided studio practice can compare IIFT Bangalore learning options for interior 3d design. Programme structure and eligibility can change, so ask IIFT Bangalore about current interior 3d design programme details before making an admission decision.
Questions about interior 3d design
What is interior 3D design?
It is the use of three-dimensional digital models to develop, review and communicate spatial, furniture, material and lighting decisions.
Which software should a beginner learn first?
Choose a tool that supports your immediate output, then learn modelling fundamentals, file organisation and drawing coordination before adding more applications.
How can I make 3D work more accurate?
Use verified dimensions, clean units, organised layers, realistic object sizes, coordinated drawings and regular checks against the current design.
Is a realistic render proof that a design can be built?
No. Buildability requires coordinated dimensions, drawings, specifications, services and professional review beyond the image.
How detailed should a 3D model be?
Use the level needed for the current decision. Add construction or presentation detail progressively instead of over-modelling early concepts.
What should an interior 3D portfolio include?
Show accurate inputs, modelling process, coordination, material and light tests, final views and a clear statement of your role.
When should materials be finalised in a 3D model?
Use provisional materials during early layout reviews. Finalise mapped textures, finishes and reflectance only after the design, dimensions and material selections have been approved and documented.



Discussion