

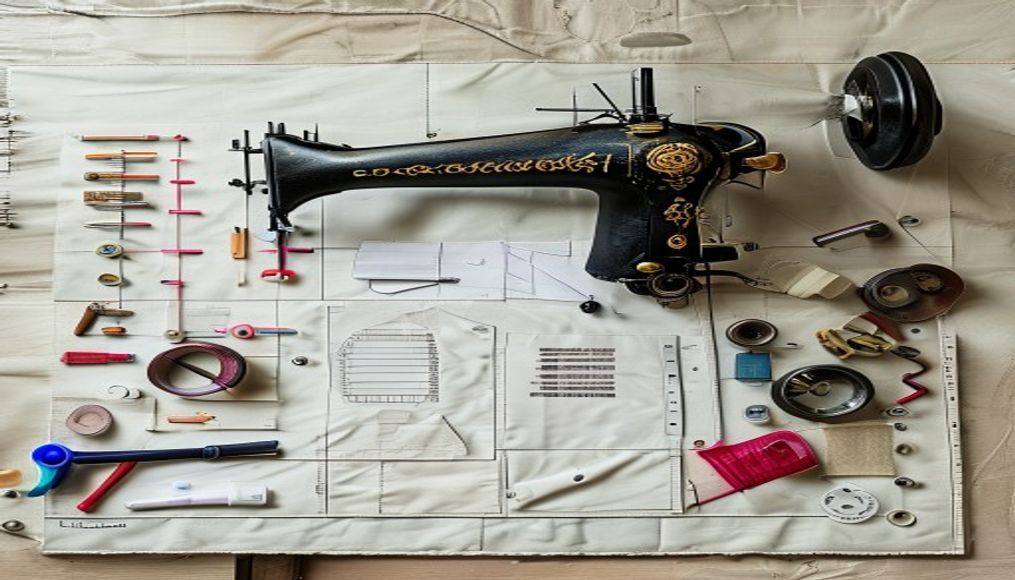
Quick answer: Garment construction turns a pattern and fabric into a durable, well-fitted product. Beginners improve fastest when they learn the order of operations, accuracy and pressing rather than chasing complex garments too early. This guide explains the complete process—from reading a pattern and preparing fabric to stitching, fitting and finishing—along with a sequence of practice projects that builds control safely.
What garment construction involves for a beginner
People searching for garment construction for beginners usually need more than a definition or a list of attractive outcomes. They need to understand the work involved, the evidence that proves quality, the trade-offs between options and the checks required before committing time, money or a portfolio claim.
What garment construction for beginners includes
Garment construction is a sequence of controlled decisions: prepare the pattern and fabric, test the machine, stabilise or shape components, assemble in an order that preserves access, press throughout, fit, finish and inspect. Beginners improve faster when they make samples, record settings and diagnose defects instead of trying to complete a complex garment in one uninterrupted session.
How to evaluate garment construction for beginners decisions
Use the guide as a decision sequence rather than a list of ideas. Begin with the purpose of garment construction for beginners, compare the available options, test the technical or practical requirements, and document why one choice is more suitable than another. The tables provide a quick orientation; the subsections that follow explain what to inspect, what evidence to retain and which mistakes create avoidable rework.
| Stage | Main task | Quality check |
|---|---|---|
| Preparation | Read pattern and test fabric | Size, grain and shrinkage considered |
| Cutting | Lay, mark and cut accurately | Pieces match and notches are visible |
| Assembly | Join in planned order | Seams are even and secure |
| Fitting | Evaluate balance and movement | Corrections are marked symmetrically |
| Finishing | Press, hem and clean | Inside and outside are neat |
| Stage | Control point | Evidence to keep |
|---|---|---|
| Preparation | Pattern, grain, shrinkage and defects | Cut plan and labelled pieces |
| Machine test | Needle, thread, tension and stitch | Sample strip with settings |
| Assembly | Order, seam allowance and matching | Operation checklist |
| Fit | Balance, ease and movement | Pinned correction and note |
| Finish | Seams, closures, hems and pressing | Final inspection record |
How to compare garment construction for beginners options
Do not treat the tables as a universal ranking. Compare preparation, machine test, assembly, fit against the actual brief, user, place, role or production condition. For each row, write down the evidence available, the assumption being made, the risk if that assumption is wrong and the person who can confirm it. An option becomes stronger when it solves the defined need with fewer unresolved conflicts; it does not become stronger because its label sounds more advanced or visually impressive.
What garment construction for beginners evidence to record
Create a small decision record for garment construction for beginners before producing the final output. At minimum, make space for fabric tested and prepared, pattern and seam allowances checked, pieces cut on correct grain, machine sample approved, order of construction written, along with dates, file or sample versions and review comments. Decide what can be verified immediately and what must remain provisional. This record makes feedback specific, prevents an outdated instruction from returning later and helps a student explain not only what was made, but how the result improved through observation, testing and correction.
Build safe and accurate sewing foundations
Start with safe tools and machine control
Learn the purpose and safe use of scissors, pins or clips, measuring tools, seam ripper, marking tools, iron and sewing machine. Practise threading, straight stitching, turning corners, controlling speed and maintaining a seam allowance on scrap fabric. Good habits prevent injury and reduce avoidable damage to the project.
Prepare the fabric before cutting
Check care instructions and whether the fabric should be pre-washed or steam-treated. Identify grain, face, nap, direction and defects. Press out folds without distorting the material. A pattern cut off-grain can twist even when stitched accurately, so fabric preparation is part of construction rather than an optional preliminary task.
Read the pattern as a set of instructions
Confirm size, seam allowance, cut quantity, grainline, fold, notches, darts and placement marks. Trace or preserve the original when you expect alterations. Lay all pieces before cutting and secure them without shifting the fabric. Transfer essential marks with a method that will not permanently stain or show through.
Assemble, press, fit and finish the garment
Assemble in a logical order
Construction usually moves from preparation of smaller components to joining larger sections, with pressing between steps. Stay-stitch or stabilise where needed, complete darts and pockets, form major seams, add closures and finish edges before they become inaccessible. Read the full sequence first so one early stitch does not block a later operation.
Press for shape, not just flatness
Press each seam after stitching, first as sewn and then in the intended direction. Use temperature and moisture suitable for the material, a pressing cloth when needed and shaping tools for curves. Test on a scrap. Ironing aggressively can stretch or shine fabric, while careful pressing improves accuracy and the final appearance.
Fit, correct and finish
Try the garment at the planned stage, checking balance, seam position, ease and movement. Pin or mark changes, transfer them symmetrically where appropriate and update the pattern. Finish raw edges, closures, facings and hems according to the material. Remove temporary marks and threads, then conduct a final press and wear test.
Control cutting, seams, construction order and diagnosis
Prepare fabric, pattern and cutting accurately
Check fabric behaviour, care, shrinkage, nap, print direction and defects before laying the pattern. Confirm the size, seam allowance, notches, drill or placement marks and grain line. Use weights or pins appropriate to the fabric and keep the cutting surface flat. Transfer only the marks needed for assembly. Label similar pieces immediately. An inaccurate cut cannot be repaired by careful stitching, so verify paired pieces and major measurements before leaving the cutting stage.
Choose seams and finishes for the material
A seam must suit fabric weight, fraying, stretch, transparency, stress and the desired appearance. Make a sample using the actual fabric, needle, thread and finish. Check puckering, skipped stitches, seam grin, stretch recovery and bulk. A plain seam with an overlocked edge may suit one woven; a French seam may suit a lightweight sheer; a knit may need a stretch-compatible stitch and stabilisation. Test rather than selecting a finish by habit.
Use an order of construction
Read the entire design and identify operations that become inaccessible later. Prepare small units such as pockets, collars, cuffs or plackets; stabilise required areas; sew darts or shaping; join major seams; set components; fit; add closures; finish edges and hem. Press after each important operation. Keep left and right pieces organised, match notches without stretching and stop when an error first appears instead of building further work over it.
Diagnose fit and quality systematically
Fit problems can come from the pattern, cutting, sewing, fabric behaviour or posture. Check grain, balance, seam position and ease before pinning random excess. Mark corrections on the toile and transfer them back to the pattern. During final inspection, check measurements, symmetry, stitch consistency, seam security, closure operation, thread ends, stains, pressing and comfort. Photograph one defect and its correction for a more useful learning record than a final image alone.
When working on garment construction for beginners, decisions that depend on changing safety, workplace, regulatory or professional requirements should be checked against the current project conditions and relevant guidance. Useful verification points include Bharat Skills fashion design and technology curriculum and CBSE garment construction learning resource. These references support a specific decision; they do not replace measurements, approvals, manufacturer instructions or qualified professional advice.
Use samples and fittings as learning evidence
Use a sample library as a construction reference
Mount or store each seam, edge, closure, pocket and fabric test with the material, needle, thread, stitch length, tension, seam allowance, pressing method and date. Include a failed sample with the diagnosed cause and correction. Group samples by fabric behaviour or operation rather than by appearance alone. Before starting a garment, choose candidates from the library and retest them on the final fabric. This turns repeated mistakes into reusable knowledge and helps students explain technical decisions in critiques, internships and portfolios.
Separate fitting correction from sewing correction
When a garment looks wrong, first inspect grain, balance, intended ease and pattern shape. Then check whether cutting shifted, seam allowances changed or fabric stretched during sewing. Mark the symptom, likely cause and test correction. Pinning excess at the nearest seam may hide the issue rather than solve it. Correct the toile, transfer the change to the pattern and recut only when necessary. Maintaining this chain prevents the same defect from returning in the next garment and teaches the reasoning behind fit rather than reliance on last-minute alteration.
Beginner project ladder
garment construction for beginners scenario and decision
Begin with seam and edge samples, then a simple utility item that teaches straight stitching and corners. Progress to an elasticated or drawstring garment, then a basic top or skirt with darts, facings or a simple closure. Add sleeves, collars, pockets, lining and complex fabrics only after the related samples are reliable. For every project, keep the pattern version, fabric note, machine settings, operation list, fitting correction and inspection. This creates a construction portfolio rather than a collection of unexplained finished garments.
garment construction for beginners evidence to retain
Review the garment construction for beginners work against evidence rather than presentation alone. A second reviewer should be able to locate evidence for fabric tested and prepared, pattern and seam allowances checked, pieces cut on correct grain, machine sample approved; follow the current version; and identify what changed after testing or feedback. Record assumptions that still need confirmation and name the person responsible for resolving each one. This prevents a polished page or render from concealing an incomplete technical, operational or learning decision.
A step-by-step garment construction for beginners workflow
Complete the stages in order, but return to an earlier stage whenever new evidence changes the brief. Keep one current version of the decision record so that sketches, drawings, files, samples or approvals do not drift apart.
- Practise samples: Create a labelled swatch book of seams, hems, darts, zips and edge finishes.
- Sew a simple project: Use stable woven fabric and few pieces to focus on accuracy.
- Add shaping: Progress to darts, curves, facings and a basic fitting correction.
- Introduce closures: Practise buttons, a simple zip or another fastening on samples first.
- Document: Photograph inside and outside, note problems and update the pattern before repeating.
At every handoff, state what is approved, what remains provisional and what must be checked next. This small discipline makes the workflow easier to review and converts activity into evidence that can be discussed in a portfolio, interview or project meeting.
Review construction quality before calling the garment complete
garment construction for beginners quality-control checklist
- Fabric tested and prepared
- Pattern and seam allowances checked
- Pieces cut on correct grain
- Machine sample approved
- Order of construction written
- Pressing tools ready
- Fitting corrections transferred to pattern
- Final measurement and finish inspection
garment construction for beginners mistakes and their consequences
- Cutting before checking grain, shrinkage, direction and pattern markings.
- Sewing every seam in one session and pressing only at the end.
- Using one needle, stitch length or finish for every fabric.
- Removing too much fabric during the first fitting correction.
- Choosing a complex slippery project before controlling straight seams and curves.
garment construction for beginners final independent review
Review the garment construction for beginners work against evidence rather than presentation alone. A second reviewer should be able to locate evidence for pieces cut on correct grain, machine sample approved, order of construction written, pressing tools ready; follow the current version; and identify what changed after testing or feedback. Record assumptions that still need confirmation and name the person responsible for resolving each one. This prevents a polished page or render from concealing an incomplete technical, operational or learning decision.
Connect construction practice with fashion learning at IIFT Bangalore
Related skills for garment construction for beginners
Compare flat-pattern construction with three-dimensional development. For the next step, use fashion draping techniques.
Connect proportion and balance with garment decisions. The guide on design principles that inform construction choices helps you examine that part in depth.
Place construction within a broader professional skill set. Continue with fashion designer practical skills when that becomes the next decision.
Document samples, corrections and resolved garments effectively. For the next step, use fashion portfolio guide.
Compare structured learning routes for garment development. The guide on fashion design course types helps you examine that part in depth.
See how samples, measurements and workmanship notes support each other. The related guide helps readers connect garment construction with technical specifications.
Structured learning for garment construction for beginners
Readers who want guided studio practice can compare IIFT Bangalore learning options for garment construction for beginners. Programme structure and eligibility can change, so ask IIFT Bangalore about current garment construction for beginners programme details before making an admission decision.
Questions about garment construction for beginners
What should a beginner sew first?
Start with stable fabric and a simple project with straight seams, then progress to curves, shaping, closures and more challenging materials.
Why is pressing important in garment construction?
Pressing sets seams, improves accuracy, shapes components and creates a cleaner finish. It should happen throughout construction.
What is seam allowance?
It is the fabric between the stitching line and cut edge. The required width depends on the pattern, seam and fitting needs.
How do I improve sewing accuracy?
Practise on samples, mark clearly, control speed, keep a consistent seam allowance, press each step and inspect both sides before continuing.
Why does a seam pucker?
Possible causes include tension, needle or thread mismatch, feeding, stitch length, fabric instability or pressing. Test one variable at a time on a sample.
Should beginners use an overlocker?
It is useful for many finishes but not a substitute for understanding seam construction. Learn safe operation and test the result on the actual fabric.
When should I press a garment?
Press during construction after key operations, using temperature, moisture and aids suited to the fabric—not only at the end.





Discussion